Adopting Infrastructure as Code in Data Centers Operations
In this post, we will explain how Sauce Labs Data Center Operations Team has automated Ubuntu installations using Cloud-Init and how to build a pipeline that creates USB Provision Sticks to automatically install Ubuntu in nocloud environments.
What is Infrastructure as Code?
As per the Wikipedia definition, we can say Infrastructure as code (IaC) is the process of managing and provisioning computer data centers through machine-readable definition files, rather than physical hardware configuration or interactive configuration tools.
Why Infrastructure as Code is Important for Sauce Labs?
In order to provide our Real Device Cloud (RDC), Sauce Labs maintains several data centers with our own on-site staff. These teams work in several time zones and they are responsible for the provision of the infrastructure which is the foundation of our real device cloud.
Having this foundation aligned is key to ensure reproducibility and traceability in any change in our products and to plan future upgrades and expansions.
In this foundation, we have bare metals running Ubuntu. Traditionally we only have a few of them, they were provisioned manually and we install them manually with USB Sticks. The whole process required high human interaction.
As our Data Center team was expanded and working in different time zones we started to see inconsistencies between the installation between these barebones, network changes were hard to track too and all these inconsistencies caused issues when trying to apply global upgrades or plan expansions.
Ubuntu Automating Installation
Cloud-init is the industry standard multi-distribution method for cross-platform cloud instance initialization. It is supported across all major public cloud providers, provisioning systems for private cloud infrastructure, and bare-metal installations.
To provision our barebones we use the nocloud datasource passing the configuration via a second USB Stick labeled as “cidata”.
Check more information at https://ubuntu.com/server/docs/install/autoinstall-quickstart.
Source control configurations
An example project to follow for this article is available in this GitHub Project: ubuntu-autoinstall-example.
Inside of the configs directory:
configs
├── environments
│   ├── development
│   │   ├── devapp1.yaml
│   │   └── devapp2.yaml
│   └── production
│       ├── prodapp1.yaml
│       └── prodapp2.yaml
└── root_config.yaml
There are several .yaml files, e.g.:
root_config.yaml contains the general configuration, like the default user and ssh
configuration, which will apply to all the provision hosts.
identity:
    hostname: ''
    password: '${DEFAULT_USER_PASSWORD}'
    username: sysadmin

# (...)

ssh:
    install-server: yes
    allow-pw: no
    authorized-keys:
        - '${DEFAULT_USER_SSH_KEY}'
The files in environments directory e.g.: environments/development/devapp2.yaml contains
the specific configuration for a specific host:
hostname: devapp2

ethernets:
    interface0:
        match:
            macaddress: '08:00:27:76:5C:C6'
        set-name: interface0
        addresses:
            - 10.0.2.15/24
        gateway4: 10.0.2.2
        nameservers:
            addresses:
                - 10.0.2.2
The above configuration works in VirtualBox if you set in the network interface to have
the mac address: 08:00:27:76:5C:C6 or you can use devapp1 which just uses DHCP to assign
the address.
ISO Image creation via pipeline
For this demonstration, the following pipeline is available in GitHub Actions but it can be implemented in any other CI/CD tool like Gitlab / Jenkins.
The configuration file is: .github/workflows/build-cloud-init-iso-image.yml.
In order to create the ISO image for the USB Stick to provision the host devapp1
we just need to go to Actions in our repository and select our workflow. After that run,
a manual workflow clicking in Run workflow. We will need to complete the fields Hostname
and Environment.
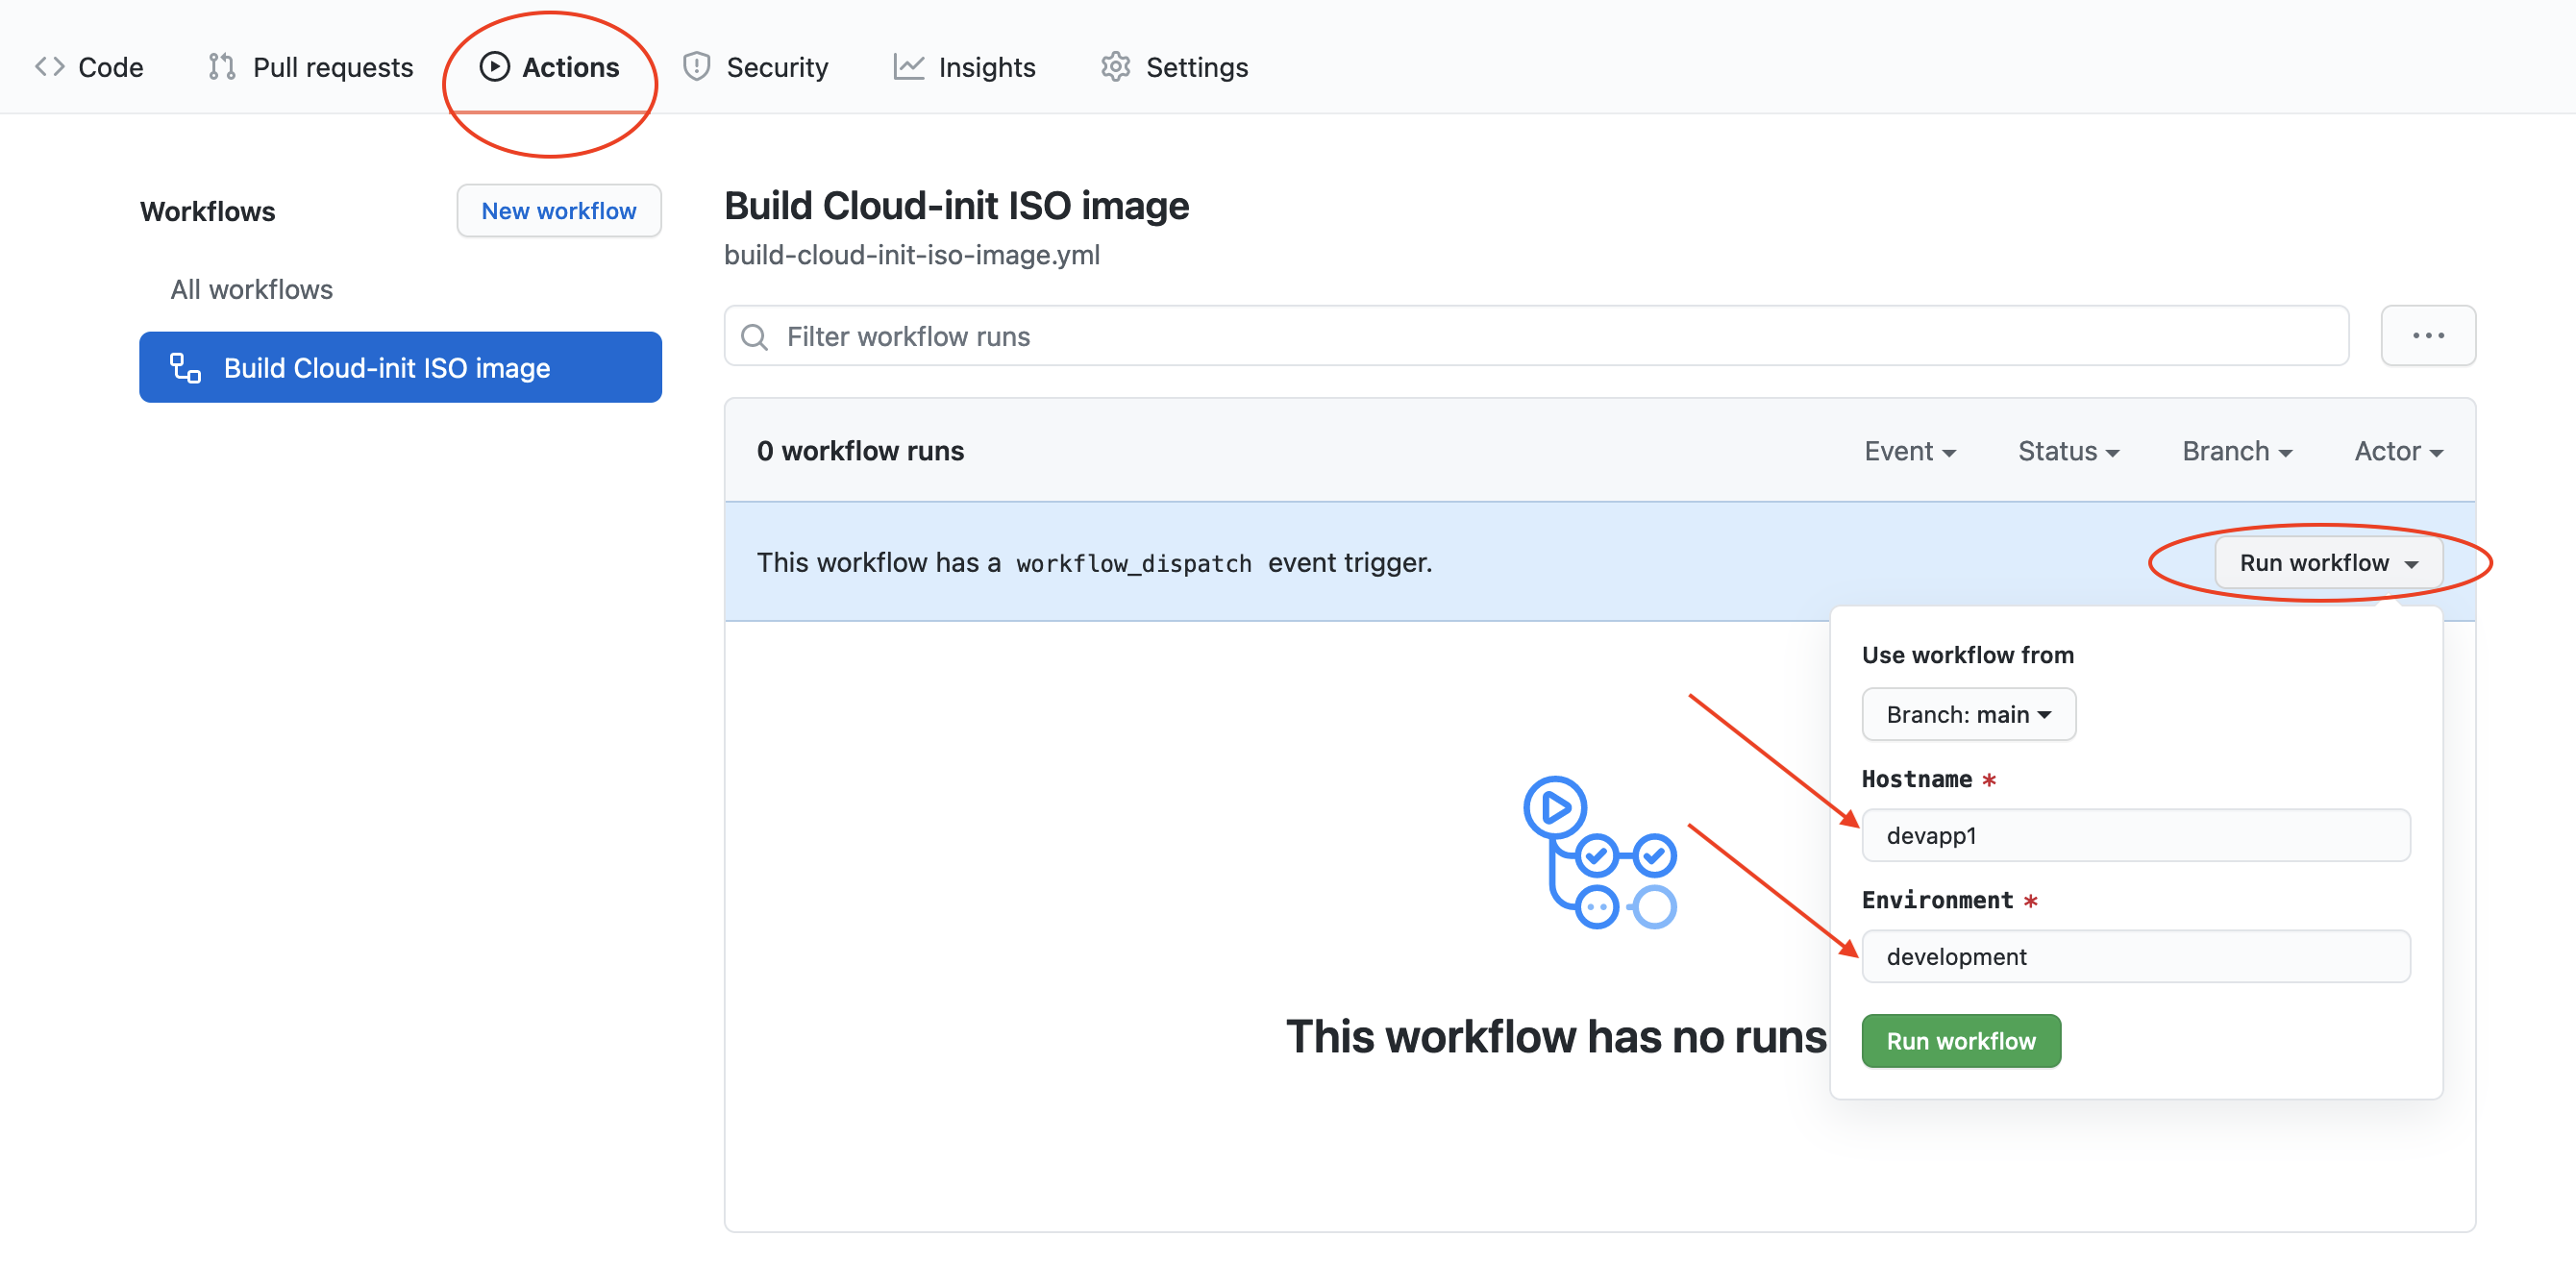
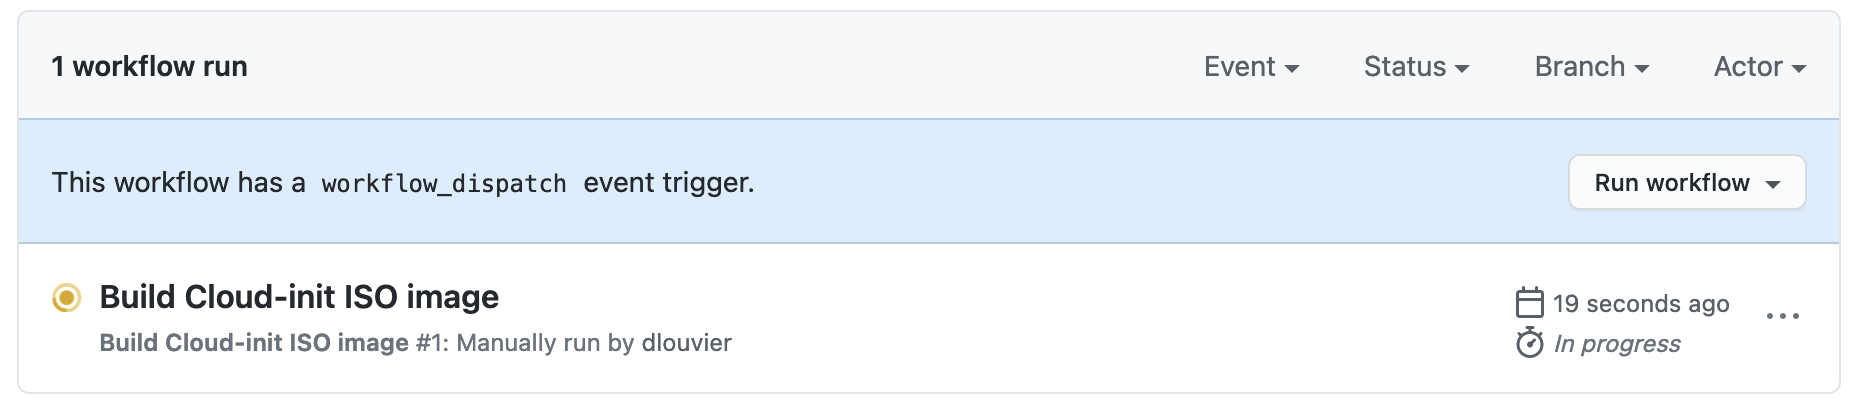
After clicking in Run workflow the pipeline will start:
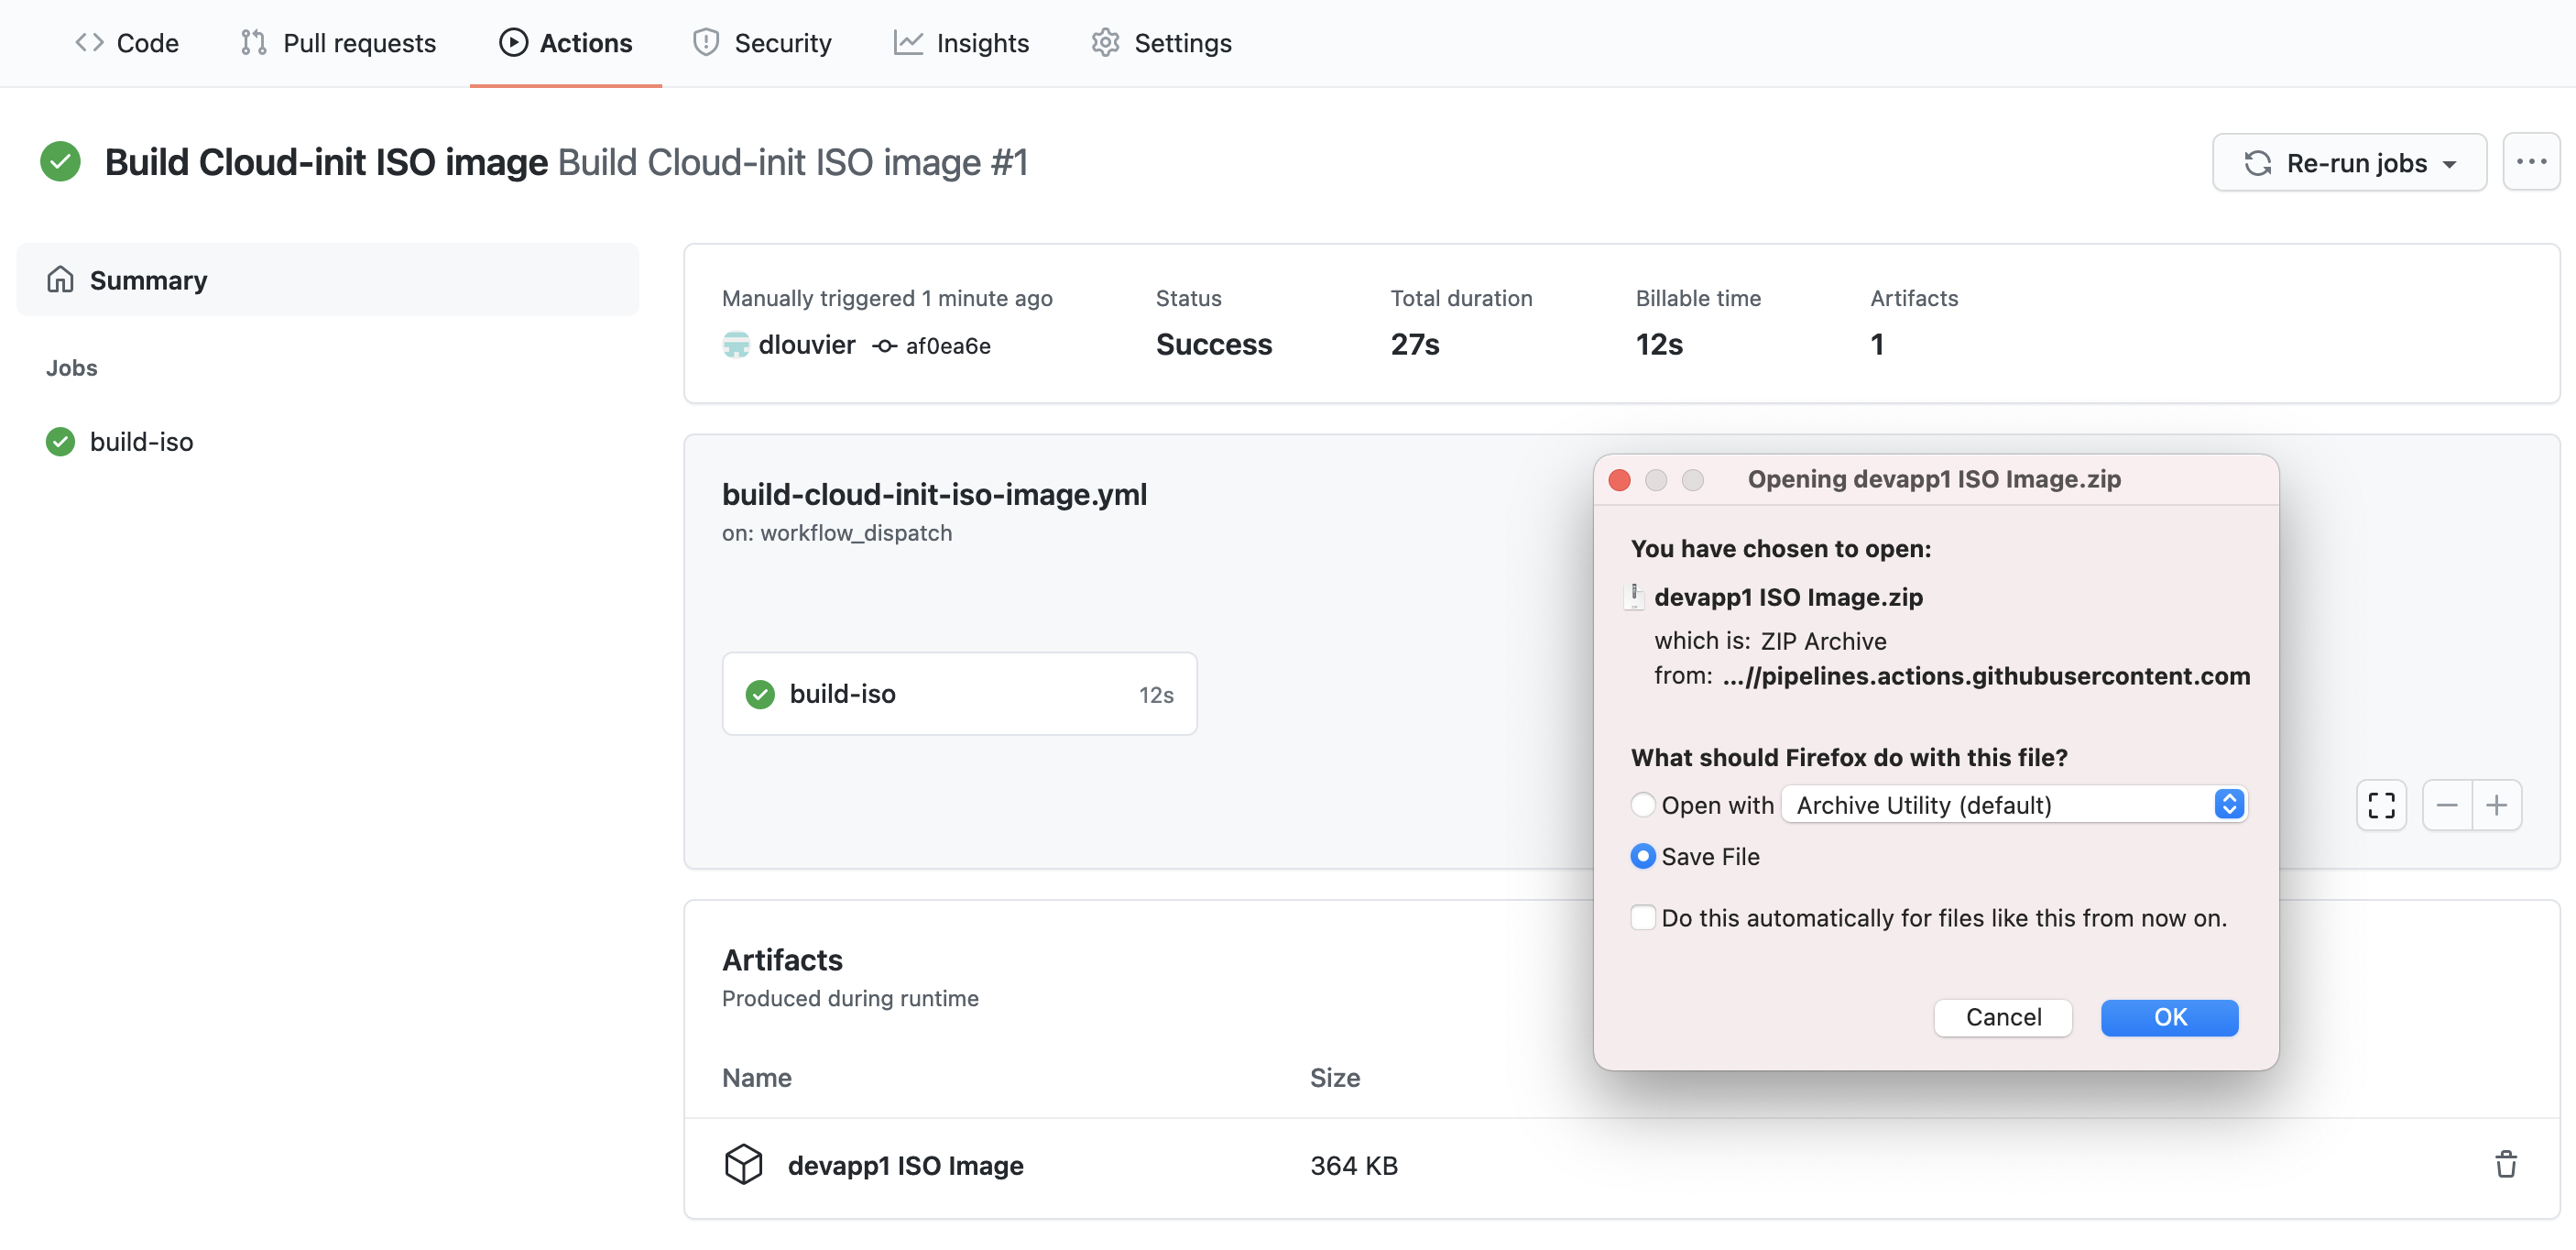
Once the job has been completed, we will be able to download the ISO Image from the Github Actions UI:
Testing our ISO Image
Once we have the .zip file generated by GitHub actions we have two possibilities to test.
Using VirtualBox
We will need to configure VirtualBox with two optics units and in the first one use the Ubuntu 20.04 installation media and in the second one configure our just created ISO image.
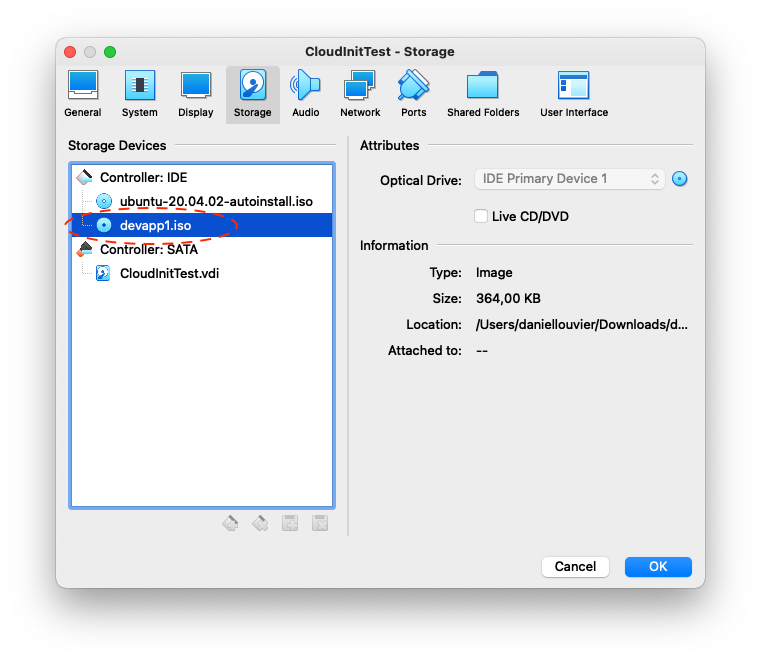
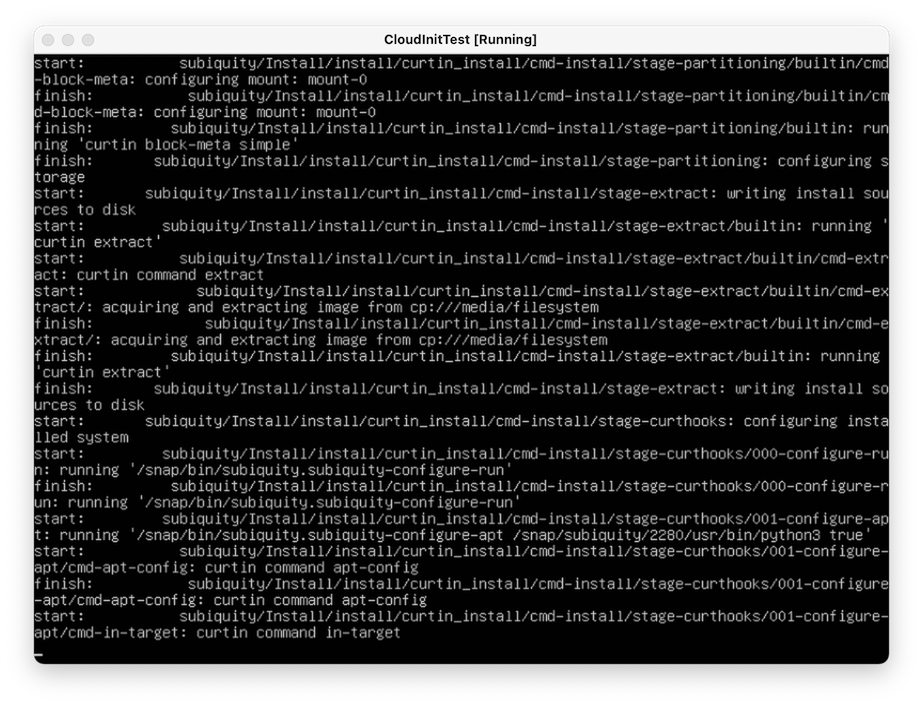
After a few seconds, the installation will start and we will be able to see the automated installation of Ubuntu.
Using a bare metal
For testing in real hardware, we will need to burn the ISO image into a USB Stick. Depending on your OS you can use one of the following tools:
- Windows https://rufus.ie/en/
- Linux: dd command. HowTo
- macOS: BalenaEtcher
After that, we need to plug both USB Sticks (one with the Ubuntu 20.04 media installation and another one with our configuration) into the bare metal and select the Ubuntu 20.04 USB Stick to boot.
The Ubuntu installation will detect the second USB Stick labeled as “cidata” and it will start the installation.
Notes
It is possible that the installation will prompt us to type “yes” to install Ubuntu using this
procedure. The way to bypass this is to remaster the Ubuntu 20.04 installation to media to set
autoinstall at the kernel boot options. Remastering is pretty straightforward using the
Cubic tool.
Post written by Daniel Louvier